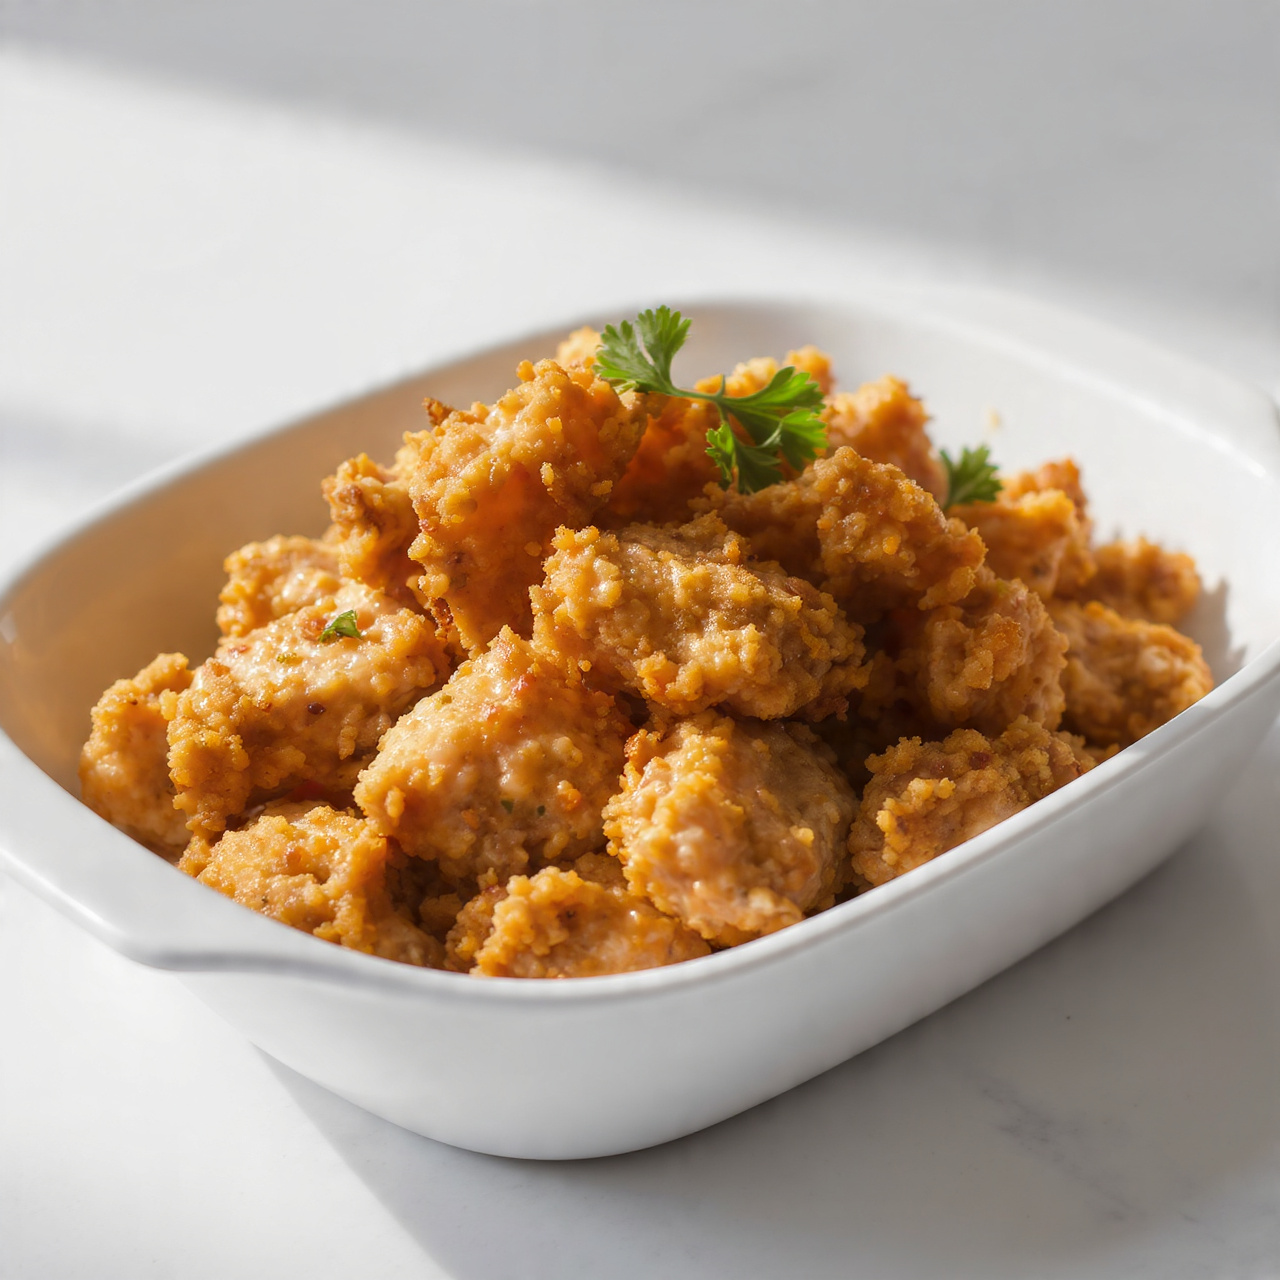
Crispy Fried Chicken Tenders (Better Than Any Restaurant)
These homemade crispy fried chicken tenders are golden, juicy, and packed with flavor — the best fried chicken tenders recipe you will ever make, right in your own kitchen.

The Only Crispy Fried Chicken Tenders Recipe You Will Ever Need
There is something deeply satisfying about biting into a chicken tender that is shatteringly crispy on the outside and impossibly juicy on the inside. Whether you are making a weeknight dinner the whole family will devour, a game-day snack that disappears in minutes, or just treating yourself to the best homemade fried chicken tenders you have ever had, this recipe delivers every single time.
This is not your average easy chicken tenders preparation. We are talking about a buttermilk marinade spiked with hot sauce, a double-dredge coating with a secret cornstarch boost, and a fry technique that locks in that legendary crunch. Once you try these, going back to frozen tenders or fast food will feel like a serious downgrade.
Why This Is the Best Fried Chicken Tenders Recipe
After testing dozens of batches, a few things became very clear about what separates seriously tasty chicken tenders from forgettable ones.
- The marinade matters more than most people think. Buttermilk tenderizes the meat and gives the coating something to grip. Adding hot sauce to the soak builds flavor from the inside out, not just on the surface.
- Cornstarch is the crunchy coating's best friend. Mixing cornstarch into the flour creates a lighter, crispier crust that stays crunchy even as the tenders cool down.
- Oil temperature is everything. Too cool and the tenders absorb grease. Too hot and the coating burns before the chicken cooks through. A consistent 350 degrees F is your sweet spot.
- Wire rack over baking sheet, always. Resting fried chicken on a wire rack instead of paper towels keeps air circulating underneath so the bottom stays just as crispy as the top.
Using quality ingredients and the right tools makes a real difference when deep frying chicken at home. A reliable instant-read thermometer and a heavy-bottomed Dutch oven or cast iron pot are genuinely the two things that will take your results from good to restaurant-worthy.
Tips for the Crispiest Homemade Chicken Tenders
Before you start cooking, a few quick tips that make a noticeable difference:
Chef's Tip: Do not rush the marinade. Even 30 minutes makes a difference, but a full 4 to 8 hours in the buttermilk soak produces chicken that is dramatically more tender and flavorful.
- Pat the chicken dry before adding it to the marinade. Removing surface moisture helps everything soak in more evenly.
- Press the coating firmly onto each tender when dredging. You want the flour mixture to really grab the surface, not just dust it.
- Fry in small batches. Crowding the pot drops the oil temperature fast, which leads to greasy, soft tenders instead of golden crispy ones.
- Season the coating generously. Bland flour is the number one reason homemade deep fried chicken tenders disappoint. Our seasoning blend here is bold on purpose.
How to Make Seriously Tasty Chicken Tenders at Home
The process has three simple stages: marinate, dredge, fry. Each one builds flavor and texture, and none of them are complicated. The active cooking time is under 20 minutes once your chicken has had its soak.
For serving, these tenders are incredible alongside honey mustard, classic ranch, barbecue sauce, or a drizzle of hot honey if you like a little heat and sweetness together. A simple coleslaw and some crinkle-cut fries complete the picture perfectly.
Ready to make the best chicken strip recipe of your life? Here is everything you need:
Crispy Fried Chicken Tenders (Better Than Any Restaurant)
These homemade crispy fried chicken tenders are golden, juicy, and packed with flavor — the best fried chicken tenders recipe you will ever make, right in your own kitchen.
Ingredients
- 1 1/2 lb chicken tenderloins, patted dry
- 1 cup buttermilk, cold
- 2 tbsp hot sauce, such as Frank's RedHot
- 1 1/2 cups all-purpose flour
- 1/4 cup cornstarch, key for extra crunch
- 1 1/2 tsp garlic powder
- 1 tsp onion powder
- 1 tsp smoked paprika
- 1/2 tsp cayenne pepper, adjust to taste
- 1 1/2 tsp salt, divided
- 1/2 tsp black pepper, freshly ground
- 2 large eggs, beaten
- 3 cups neutral oil for frying, vegetable or canola oil
Instruction
In a large bowl, whisk together the buttermilk, hot sauce, 1 teaspoon of salt, and a pinch of black pepper. Add the chicken tenderloins, making sure they are fully submerged. Cover and refrigerate for at least 30 minutes, or up to 8 hours for deeper flavor.
In a separate shallow dish, whisk together the flour, cornstarch, garlic powder, onion powder, smoked paprika, cayenne pepper, remaining 0.5 teaspoon of salt, and black pepper until evenly combined.
In a third shallow dish, beat the eggs until smooth.
Remove the chicken from the buttermilk marinade, letting the excess drip off. Dredge each piece in the seasoned flour mixture, then dip into the beaten egg, then back into the flour mixture, pressing gently so the coating sticks.
Pour the oil into a large heavy-bottomed pot or deep skillet and heat over medium-high heat until it reaches 350 degrees F (175 degrees C). Use a thermometer to confirm the temperature.
Working in batches of 3 to 4 tenders at a time, carefully lower the chicken into the hot oil. Fry for 4 to 5 minutes per side until deep golden brown and the internal temperature reaches 165 degrees F (74 degrees C).
Transfer the cooked tenders to a wire rack set over a baking sheet. Do not stack them or place them on paper towels, as this can make the crust soggy.
Let the tenders rest for 2 to 3 minutes before serving. Sprinkle lightly with flaky salt if desired and serve immediately with your favorite dipping sauces.
Equipment
- Large mixing bowl
- 2 shallow dishes or pie plates
- Heavy-bottomed pot or deep skillet
- Instant-read meat thermometer
- Wire rack
- Rimmed baking sheet
- Tongs or spider strainer
- Paper towels
Notes
Serving, Storing, and Variations
Serving ideas: These tenders shine as a family dinner with sides, a party platter with a dipping sauce spread, a crowd-pleasing game day snack, or sliced over a salad for a satisfying lunch.
Storage and reheating: Leftovers keep well in the refrigerator for up to 3 days. Skip the microwave and reheat in an air fryer or oven to bring the crunch back to life.
Easy variations to try:
- Spicy honey tenders: Drizzle finished tenders with hot honey right before serving.
- Parmesan herb crust: Add 3 tablespoons of finely grated Parmesan and 1 teaspoon of dried Italian herbs to the flour mixture.
- Air fryer version: Spray dredged tenders generously with cooking spray and air fry at 400 degrees F for 10 to 12 minutes, flipping halfway through. The crust will be slightly less craggy but still delicious.
However you serve them, these homemade chicken tenders are the kind of recipe that gets requested again and again. Make them once and you will understand why.