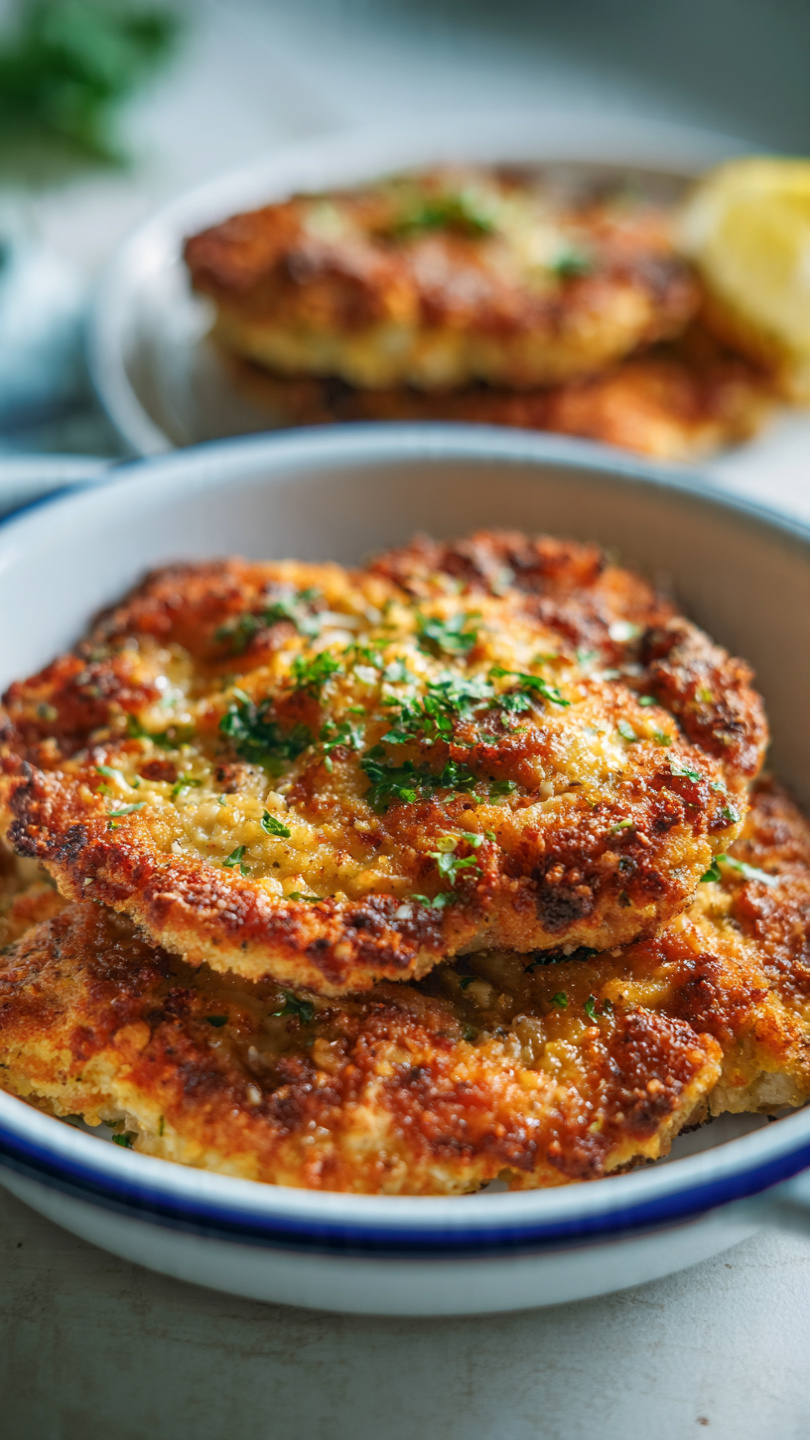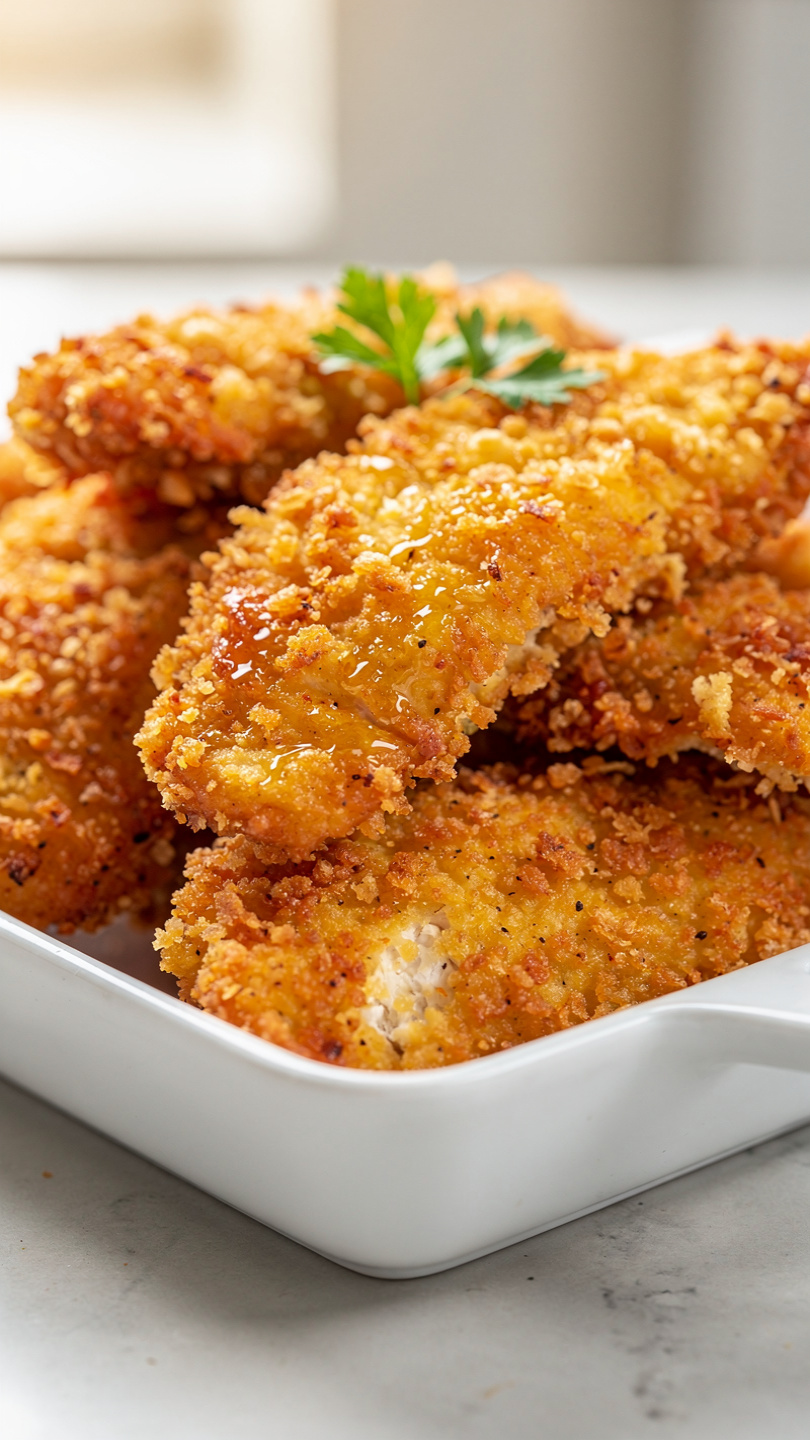
Crispy Homemade Chicken Tenders
These crispy homemade chicken tenders are golden, juicy, and ready in under 30 minutes. The perfect easy chicken dinner recipe the whole family will beg for every week.

The Only Crispy Chicken Tenders Recipe You Will Ever Need
Let's be honest. Chicken tenders are one of those meals that transcend age, mood, and occasion. Whether you are pulling together a fast weeknight chicken dinner recipe, feeding picky kids, or just craving something deeply satisfying and golden brown, a great homemade tender hits every single time. And once you make these at home, the freezer bag version will collect frost.
This recipe delivers shatteringly crispy panko coating, juicy chicken inside, and a seasoning blend that actually tastes like something. It comes together in about 35 minutes and uses ingredients you almost certainly already have.
Why Homemade Beats Store-Bought Every Time
Most frozen chicken tenders rely on thick, doughy coatings that go limp in transit. At home, you control everything: the quality of the chicken, the seasoning in the breading, and most importantly, how crispy the outside gets.
This recipe uses a few smart tricks borrowed from restaurant kitchens:
- Panko breadcrumbs instead of regular ones for a lighter, crunchier crust
- Parmesan cheese mixed into the breading for savory depth and browning
- A wire rack so hot air circulates underneath, preventing soggy bottoms
- Smoked paprika for that subtle, almost charred warmth that makes these taste like proper chicken dishes recipes from a real kitchen
These are genuinely healthy dinner recipe choices too. Baked rather than deep-fried, high in protein, and easy to pair with vegetables or a simple salad.
Having the right setup in your kitchen truly changes the result here. A sturdy wire rack, a reliable instant-read thermometer, and quality panko are the three things that separate good tenders from great ones.
The Secret Is in the Breading Station
If you have ever made breaded chicken and watched the coating slide off in the pan, it almost always comes down to one of two things: wet chicken or skipping the flour dredge.
Always pat your chicken completely dry before breading. Moisture is the enemy of adhesion. Then follow the classic three-step process: flour first, egg wash second, panko third. The flour gives the egg something to grip. The egg gives the panko something to grab. Press the panko firmly into each tender rather than just rolling it through.
Chef's Tip: After breading, let the tenders rest on the rack for 10 minutes before baking. This brief rest helps the coating set and stick even better during cooking.
The seasoning blend here is versatile and pulls from Asian dishes flavor profiles (garlic, smoked paprika) while staying firmly in classic American comfort food territory. It pairs beautifully with honey mustard, ranch, or a spicy sriracha mayo.
Serving Ideas and Variations
Chicken tenders are incredibly adaptable. Here are a few directions you can take them:
- Classic American: Serve with honey mustard, fries, and coleslaw
- Inspired by chicken dishes recipes from the South: Drizzle with hot honey and serve over waffles
- Lighter dinner option: Slice and serve over a crisp salad with avocado and a lemon vinaigrette
- Peppers and chicken spin: Slice the baked tenders and toss into a skillet with sauteed bell peppers and onions for a quick fajita-style chicken and peppers bowl
For anyone following a low-carb approach, swap the panko for crushed pork rinds and skip the flour entirely. The result is a surprisingly convincing keto-friendly version that crisps up beautifully.
Ready to make the crispiest, juiciest chicken tenders of your life? Here is the full recipe:
Crispy Homemade Chicken Tenders
These crispy homemade chicken tenders are golden, juicy, and ready in under 30 minutes. The perfect easy chicken dinner recipe the whole family will beg for every week.
Ingredients
- 1 1/2 lb chicken breast tenderloins, or chicken breasts sliced into strips
- 3/4 cups all-purpose flour
- 2 large eggs, beaten
- 1 1/2 cups panko breadcrumbs
- 1/4 cups grated parmesan cheese, finely grated
- 1 tsp garlic powder
- 1 tsp smoked paprika
- 1/2 tsp onion powder
- 1 tsp kosher salt, divided
- 1/2 tsp black pepper, freshly ground
- 2 tbsp olive oil or avocado oil spray, for baking, or use neutral oil for pan frying
Instruction
Preheat your oven to 425 degrees F (220 degrees C). Line a large baking sheet with a wire rack and lightly grease it with cooking spray.
Set up a three-station breading line: Place flour seasoned with 0.5 tsp salt and pepper in the first shallow bowl, beaten eggs in the second, and a mixture of panko breadcrumbs, parmesan, garlic powder, smoked paprika, onion powder, and remaining 0.5 tsp salt in the third.
Pat the chicken tenders completely dry with paper towels. Dry chicken is the secret to a crust that actually sticks.
Working one at a time, dredge each tender in flour and shake off the excess, then dip in the beaten egg letting any excess drip off, then press firmly into the panko mixture on all sides until fully coated.
Place the breaded tenders in a single layer on the prepared wire rack. Spray or drizzle lightly with oil over the tops.
Bake for 18 to 22 minutes, flipping once halfway through, until the coating is deep golden brown and the internal temperature of the chicken reaches 165 degrees F (74 degrees C).
Let rest for 2 to 3 minutes before serving. Serve immediately with your favorite dipping sauces.
Equipment
- Large baking sheet
- Wire rack
- Three shallow bowls or dishes
- Instant-read meat thermometer
- Paper towels
- Cooking spray or pastry brush
Notes
Storage and Reheating Tips
These tenders keep well and reheat beautifully as long as you avoid the microwave. Store cooled leftovers in an airtight container in the fridge for up to 3 days.
To reheat: place on a wire rack in a 375 degree F oven for 8 to 10 minutes, or use an air fryer at 375 degrees F for 5 to 7 minutes. They come back nearly as crispy as fresh.
For meal prep, you can also freeze the breaded raw tenders on a sheet tray, then transfer to a zip bag once solid. Bake straight from frozen at 425 degrees F, adding about 6 to 8 extra minutes to the cook time.